Editing
In the editing mode, you have the option to begin with a blank slate or modify existing dashboards. For the purposes of this guide, let's assume we're starting from the beginning. Just as with form variables, we can define the size of each query we add using the Bootstrap format. Once you've selected the desired size for the query, you can easily incorporate a new one by clicking on the '+' icon located at the center of the blank canvas.
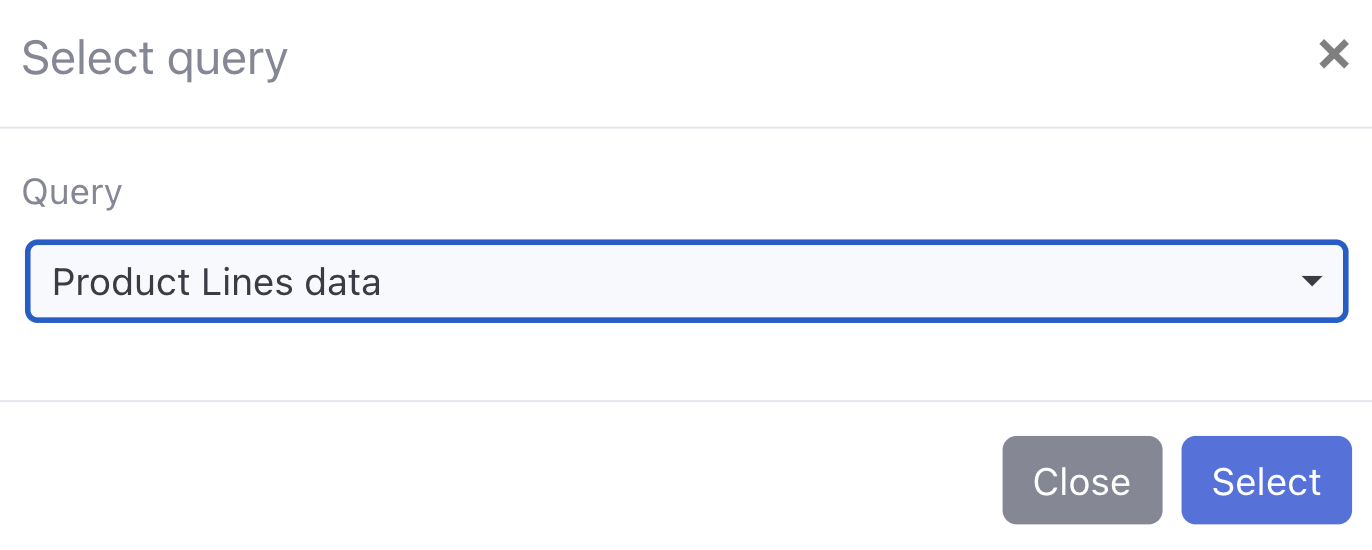
After clicking the '+' sign, a modal window will appear, displaying a list of queries from our workspace. From this window, we can select the desired query using the dropdown list.
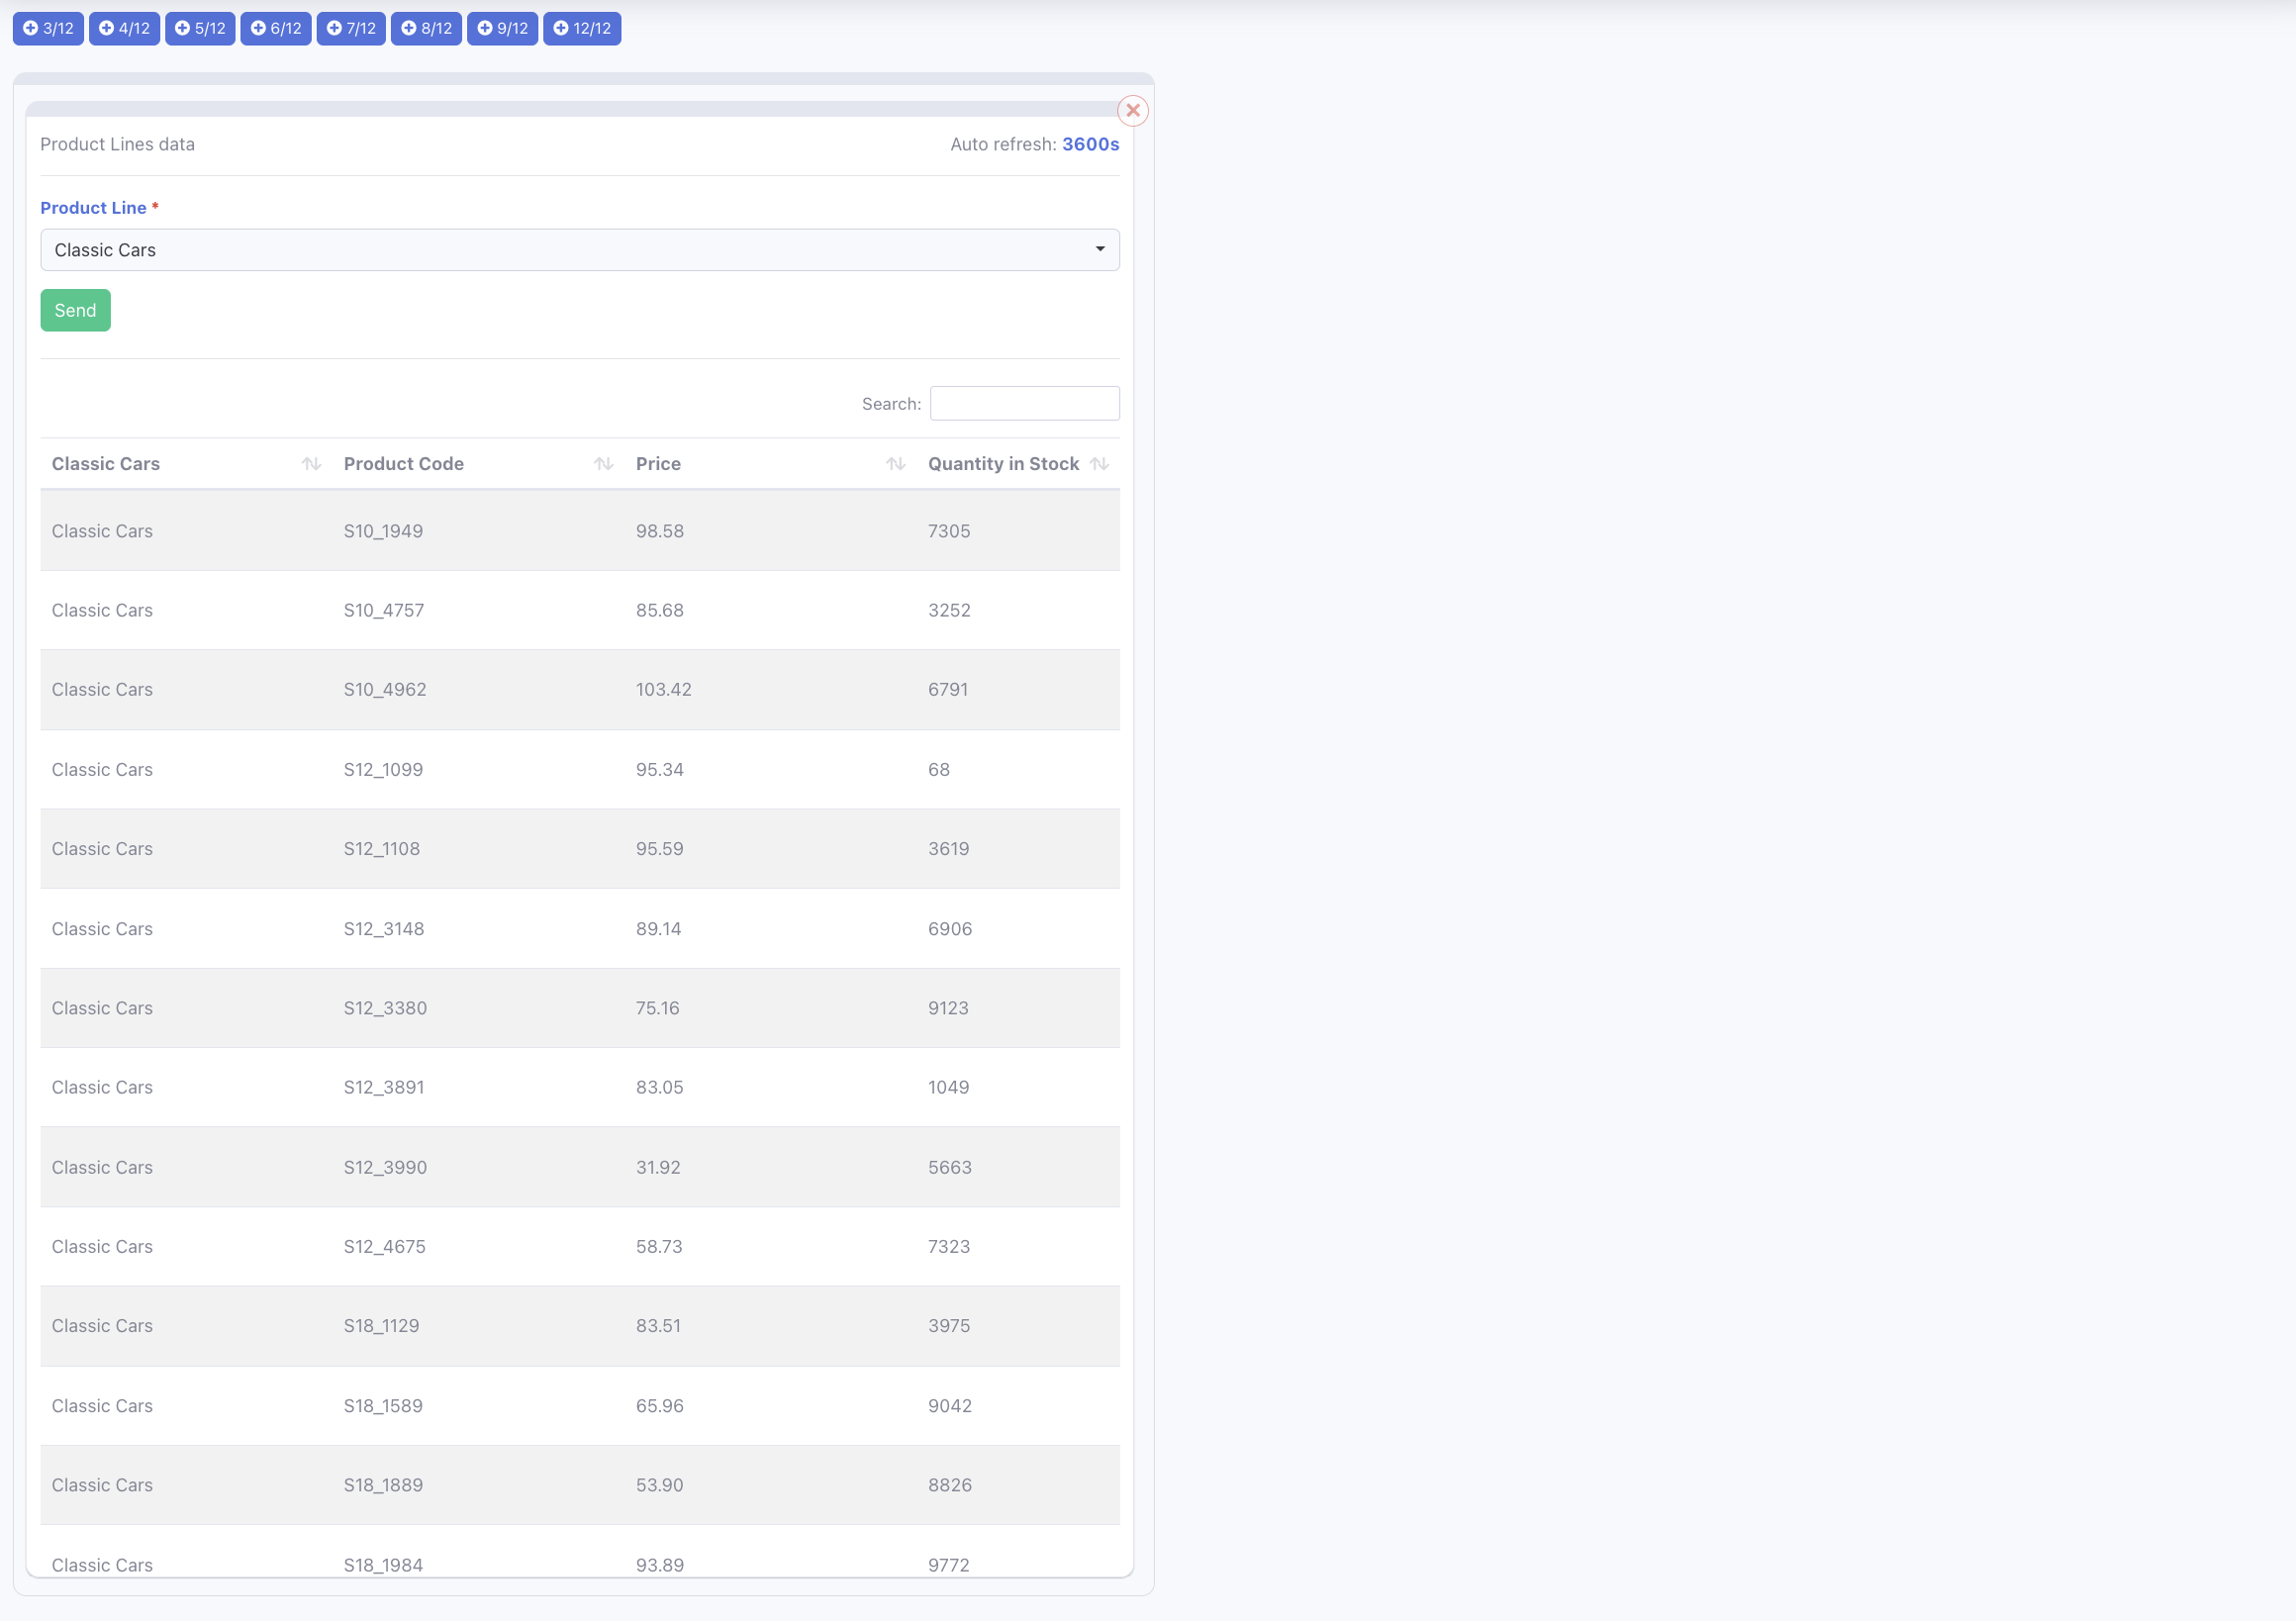
Suppose we first add a basic table, incorporating the 'Product Lines' data we previously set up in the form variable demonstration. You'll notice that we've inserted the query at a half-screen width, occupying a 6/12 width layout.
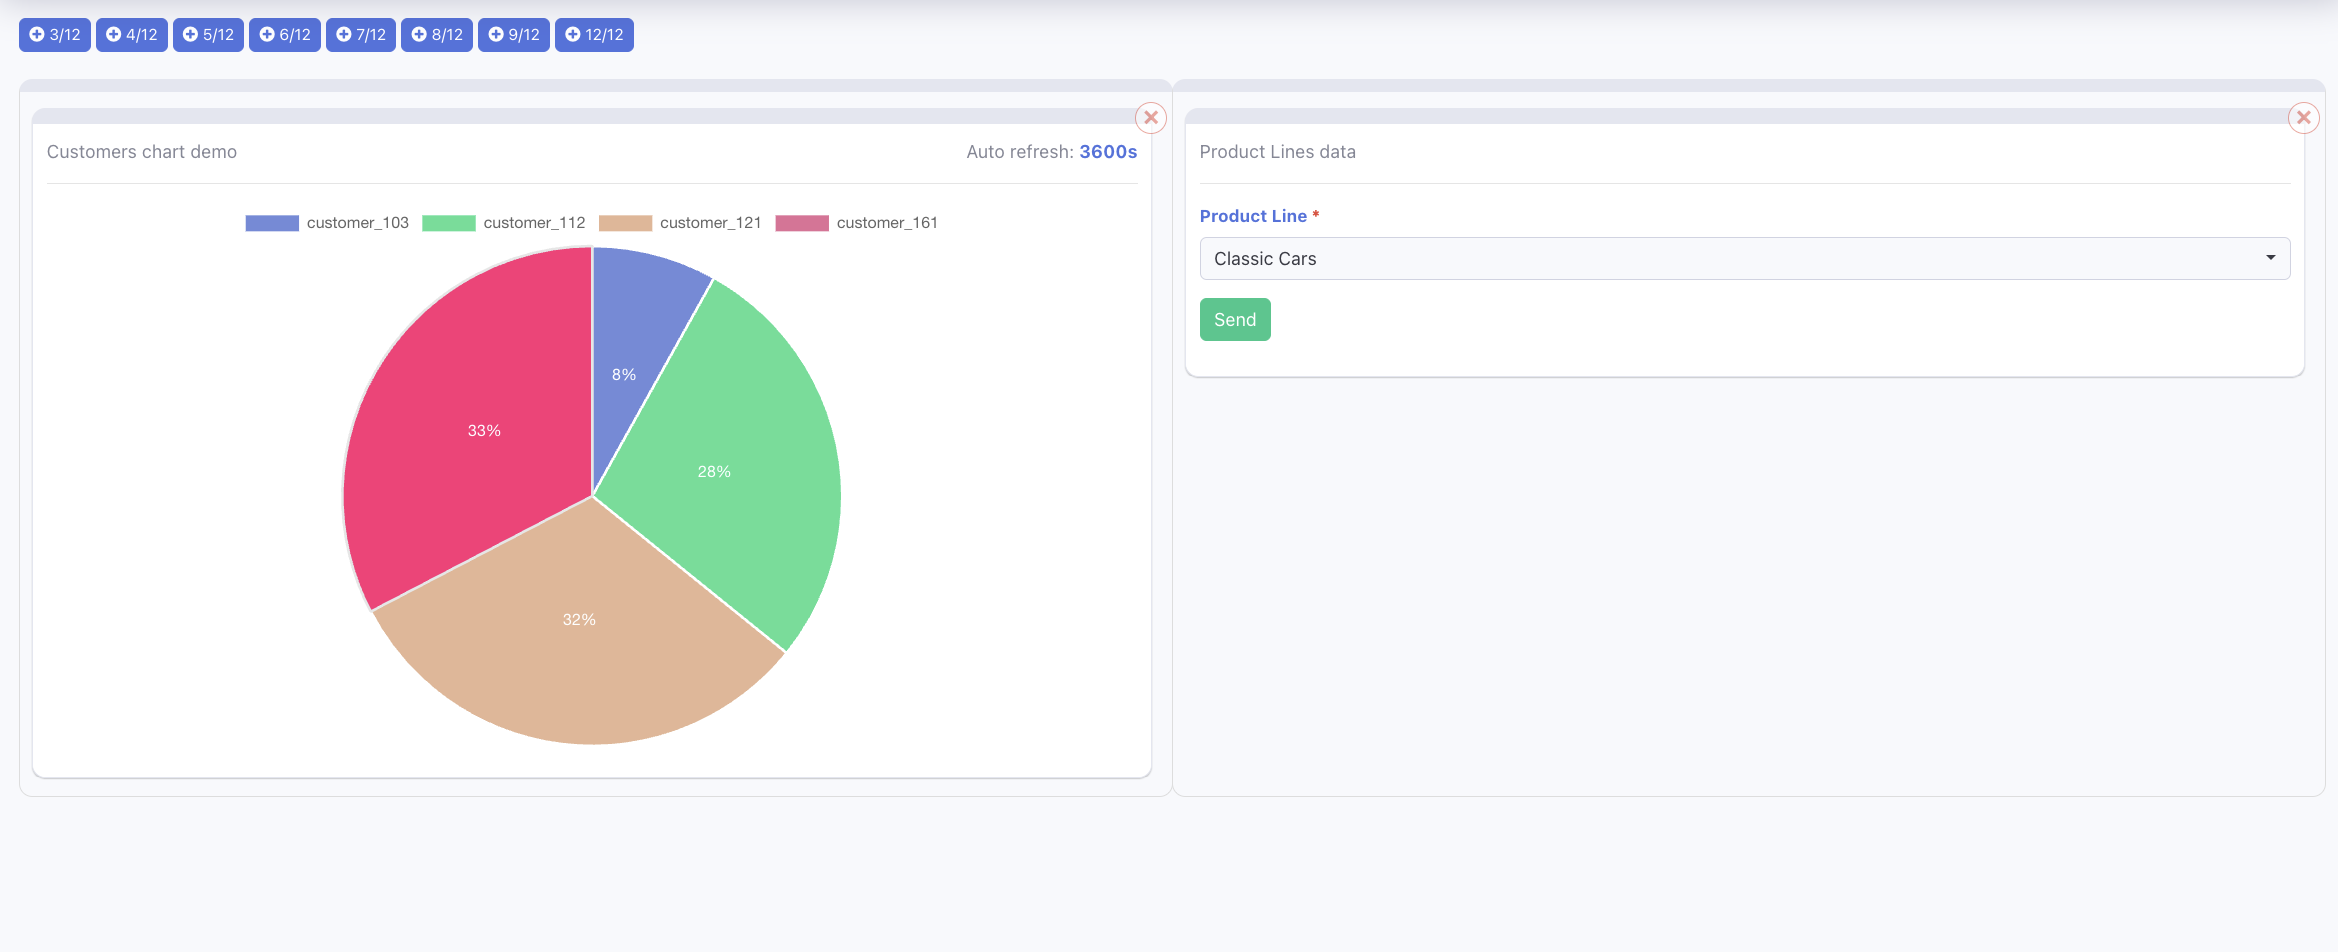
Next, we'll place a chart on the right side of the screen. This is done by selecting one of the buttons in the top left corner, which generates a new template conforming to the width specified in Bootstrap format.

Observe that we've positioned a chart on the left side. If needed, we can easily remove any superfluous queries by clicking the 'X' button located at the top right corner of each query. Additionally, rearranging them is straightforward – simply drag any side of a query to move it.